

How to Sign your Git Commits with GPG Keys
In this article, let's explore how we can sign our Git commits with the help of GPG keys.


Although we can push our code to a GitHub remote repository using SSH, the commits are not truly verified, which means that the commits don't have any cryptographic verification. You might wonder, "What do you mean by my commits not being verified? I do commits and push to my account." Technically, yes, you do, but without cryptographic verification, we can't guarantee that the commits were altered since they were made or tampered codes were introduced to the repository.
To overcome this issue and ensure the authenticity of the commits, cryptographic verification such as GPG sign-in can be used. In this article, we'll explore how to sign our commits using GPG keys.
Prerequisite: Before starting, it's helpful if you know how to generate GPG keys and add them to your GitHub account. If not, don't worry; I've got that covered in detail in this article. Please feel free to check it out and add the GPG keys to your GitHub account.
After successfully adding your GPG keys to your GitHub account, the next step involves specifying the GPG key and setting the gpgsign option to true in your global Git configuration.
Retrieve the GPG key:
First, let's retrieve the GPG key ID, which is associated with the public key added to GitHub
Run the following command to list all the GPG keys available:
gpg --list-secret-keys --keyid-format=longThe result will look something like this:
   sec   rsa3072/A369A9BFD11F6F60 2024-03-14 [SC]
         441F9580CF1B5238C3F0B2FCA369A9BFD11F6F60
   uid                 [ultimate] John Doe (Example) <john.doe@example.com>
   ssb   rsa3072/F038B8C5AD80A86D 2024-03-14 [E]
In this output, the key ID is highlighted in the "sec" line, next to "rsa3072/". Here the key ID is "A369A9BFD11F6F60."
Note: If you've got multiple GPG keys, then make sure to identify the one used to generate the public key for your GitHub account.
Update Git configuration:
Now that we have the required GPG key, let's configure the global Git config
Adding the GPG key as the sign-in key:
To add your GPG key as the signing key, execute the following command:git config --global user.signingkey A369A9BFD11F6F60 # Replace 'A369A9BFD11F6F60' with your own GPG key IDEnabling the Git sign:
Next, enable Git signing with GPG keys by running:
git config --global commit.gpgsign trueSigning a Git commit:
Now that we've enabled commit sign-in with GPG keys, each time you commit a message, you'll be prompted to enter the passphrase associated with your GPG key. This passphrase is set during the GPG key generation process.
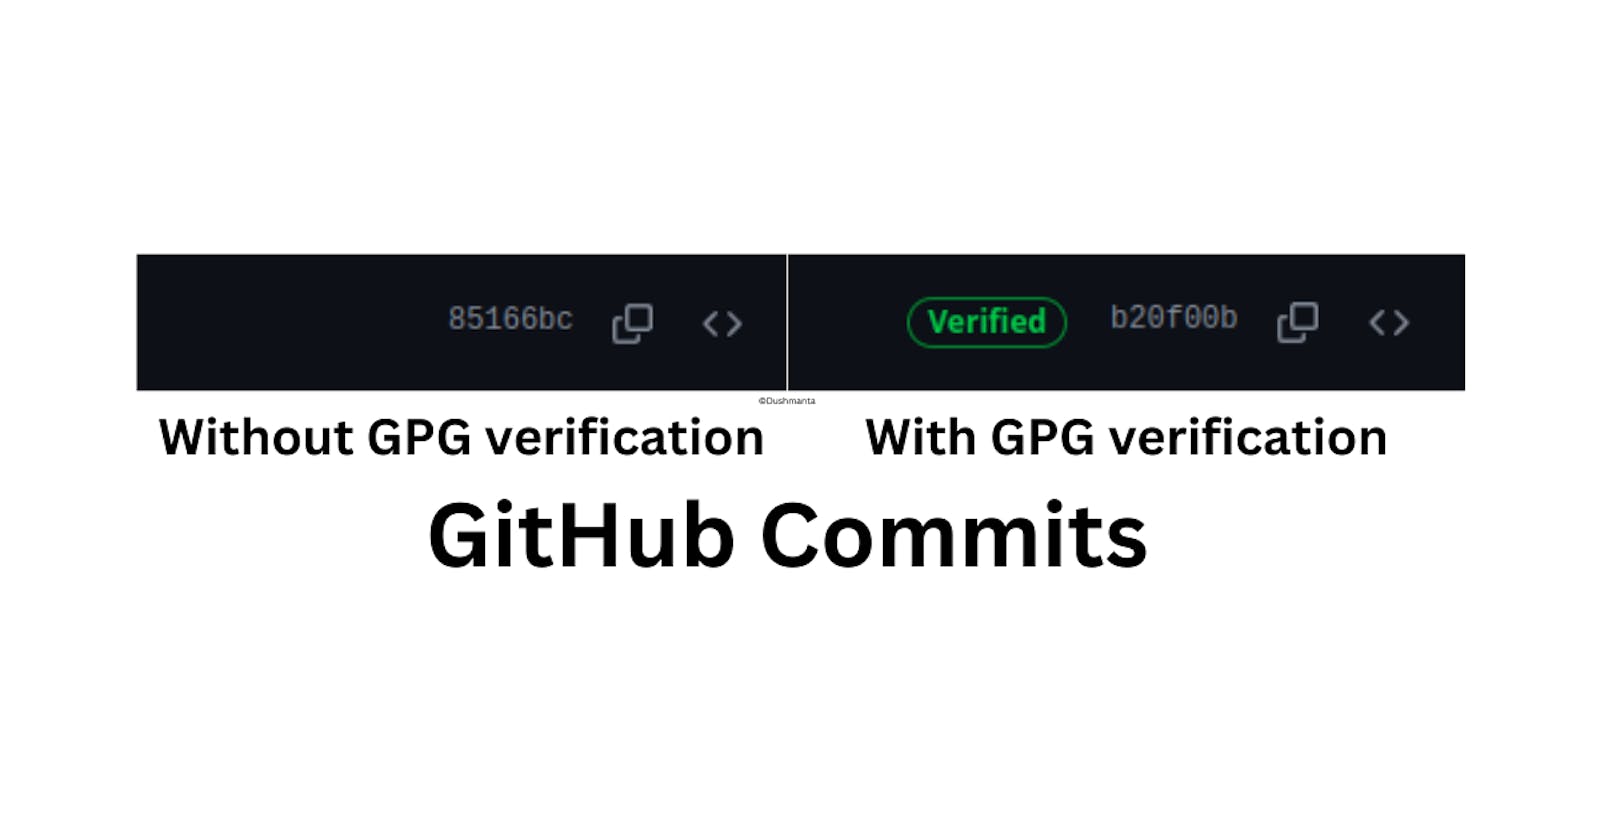
Now, when you push your commit to the remote repository, you can verify your commits, and a verified badge will appear next to them, indicating their authenticity, as shown in the image below.

Note: Ensure you select the correct GPG key ID while setting the sign-in key. If you encounter an error message like Signing failed: If there is no secret key, it may indicate that your GPG key has expired or does not exist. In such cases, consider generating a new GPG key and following the setup steps outlined above.
I trust this article has been helpful in guiding you through the process of signing your Git commits. If you have any feedback or suggestions, please feel free to share them. Thank you for reading.